Adding trade documents using Combyne Capture
This guide will show you how you can use Combyne's document parsing technology to speed up adding your documents and keeping track of them across all your buyers in a matter of seconds.
See it for yourself!
What you need to start
- About 2 minutes (yes really!)
- A grain contract that is related to the crop you have set up
Note: In this example, we will show you how Combyne Capture works with a grain contract, however the technology is capable of parsing your load tickets and settlements too.
1. To begin, click + Add to start adding your contract.
2. Select the option Upload File.
You will be prompted to select a contract from your device.
You also have the option of adding a document manually in case you don't have a copy of your contract handy.
Note: On mobile, you are able to take a picture of your contract and directly upload it!
3. Once done uploading your contract, click on Save and Finish.
You can upload up to 10 contracts at a time. To add an additional contract, you must select the Add another contract button after each individual contract has been selected. This will ensure Combyne treats each file as a separate contract.
4. You will then be taken to your Document Inbox where you can see a list of all your uploads and the status of each upload.
In this section of the app, you will be able to review and save all your uploaded documents. If the document is being captured it will be shown as Processing. After Combyne Capture has extracted all the document details you will see the document is Ready to Review.
5. Select Review once your document has been processed.
Within a few seconds of uploading your documents, you will get a notification that your documents are ready to review.
Note: Combyne Capture may take longer to process if your document is not clear, does not follow a standard format for trade documents, or is a new document type.
6. During the review process you can verify that all data is correct.
7. Once you have verified all the fields or made any necessary modifications, select Save to continue to the next step.
8. Last step - confirm which crop this contract is related to.
As a final step, Combyne will confirm which crop profile your contract should be assigned too. In this example, there is only one, but in the case you are selling older crop or even forward contracting ahead of harvest, we want to make sure that your marketing information is up to date, with the correct information.
Select the crop profile you want to assign the contract to, and then select Save and Finish.
Congrats! You have added your first contract.
Upon saving, you can see the full details of your contract, along with the digital copy of your upload.
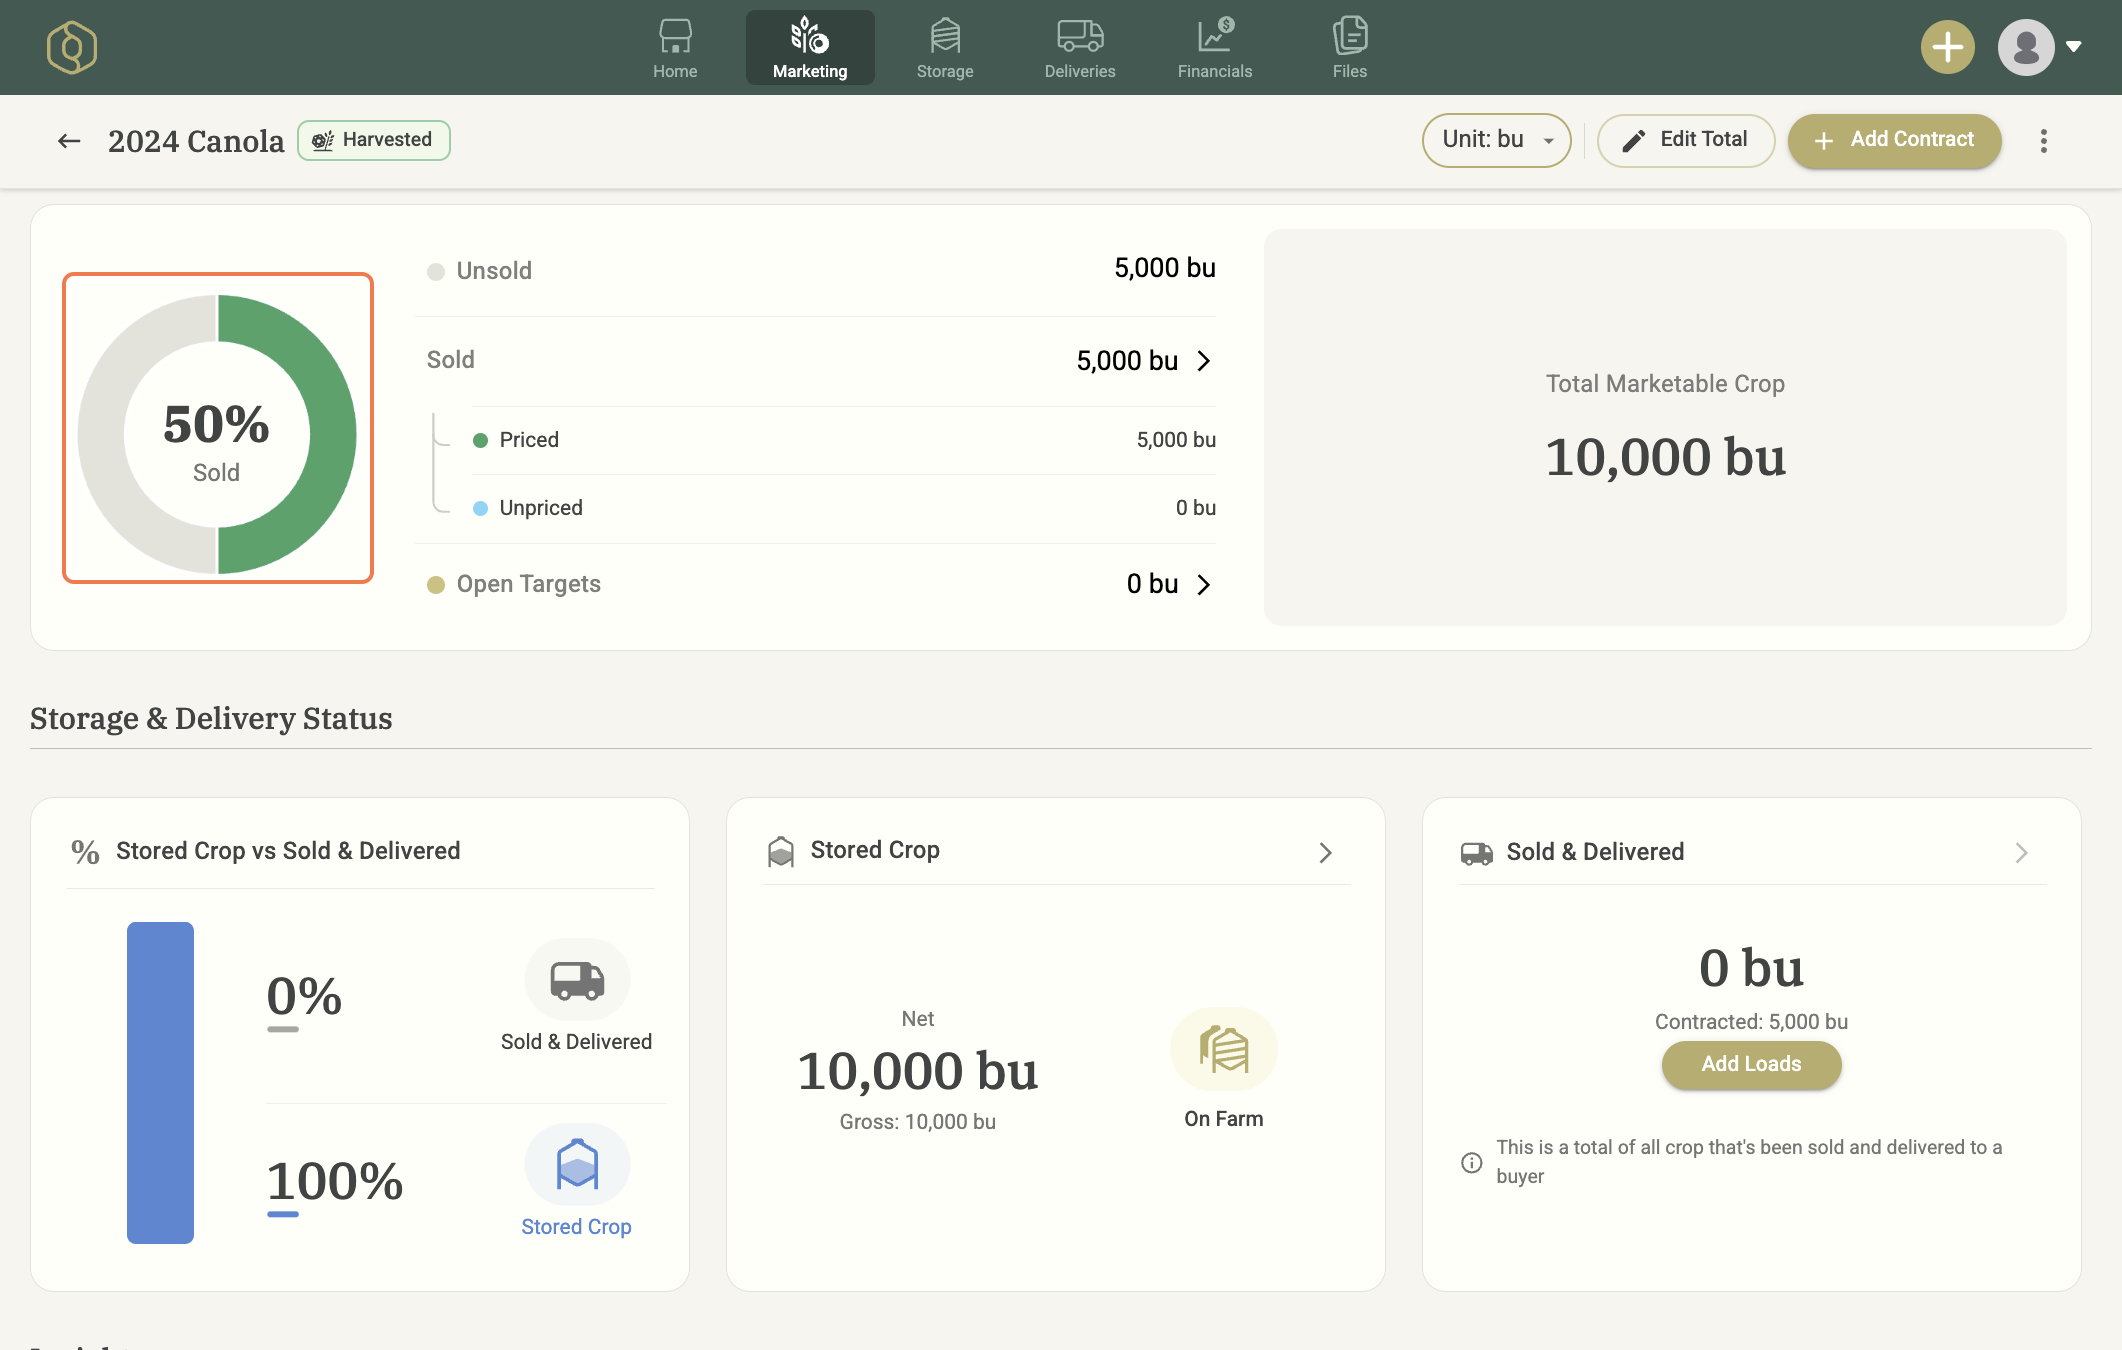
Now let's click the View Marketing button to get to the crop profile and see how this contract has updated your sold position.
Keeping your sold position updated is as simple as uploading your contract, reviewing the data in a matter of seconds, and then saving the contract to your crop profile.
